Removing a car wrap can be a daunting task, especially for those who have never done it before. Car wraps, also known as vinyl wraps or vehicle wraps, have become increasingly popular as a way to protect and personalize the appearance of a vehicle. While the application process can be intricate and time-consuming, the results can be quite stunning, making it an ideal solution for those looking to give their car a unique vibe.
How to Remove Car Wrap

However, the time may come when you want to change the design or simply remove the wrap altogether. The removal process, although not as complicated as the application, requires skill, patience, and the right techniques to ensure a smooth and damage-free experience. Understanding the proper methods for removing a vinyl car wrap can make all the difference in preserving the vehicle’s original paint job and keeping the process as hassle-free as possible.
Preparation for Removal
Assessing the Condition
Before starting the car wrap removal process, it’s essential to first assess the condition of the wrap. This includes checking for signs of aging, such as peeling, cracking, or discoloration. Also, examine the vinyl for any damage that might make the removal process more challenging. Keep in mind that older wraps may leave more adhesive residue behind when removed, requiring additional cleaning steps.
Gathering Necessary Tools
To remove a car wrap effectively and safely, gather all the necessary tools and materials beforehand. The following list outlines some recommended items for a successful car wrap removal:
- Garage: A well-ventilated workspace, such as a garage, is ideal for carrying out the removal process.
- Heat Gun: A heat gun or hairdryer helps to soften the adhesive on the wrap, making it easier to peel off.
- Plastic Razor: Opt for a plastic razor blade or wrap removal tool to gently lift the wrap’s edges without damaging the paint.
- Gloves: Wearing gloves can protect your hands from the heat and potential sharp edges during removal.
- Plastic Scraper: A plastic scraper helps in removing any stubborn adhesive residue left behind.
- Adhesive Remover: A commercial adhesive remover can assist in cleaning up any remaining adhesive residue.
- Soap and Water: Prepare a solution of soap and water in a spray bottle to clean the car after the wrap is removed.
- Microfiber Cloth and Towel: A microfiber cloth and towel will help to gently clean and dry the vehicle surface after the removal process is complete.
By properly assessing the wrap’s condition and having the necessary tools on hand, you can ensure a smooth car wrap removal experience.
Step-by-Step Removal Process

Heating the Vinyl
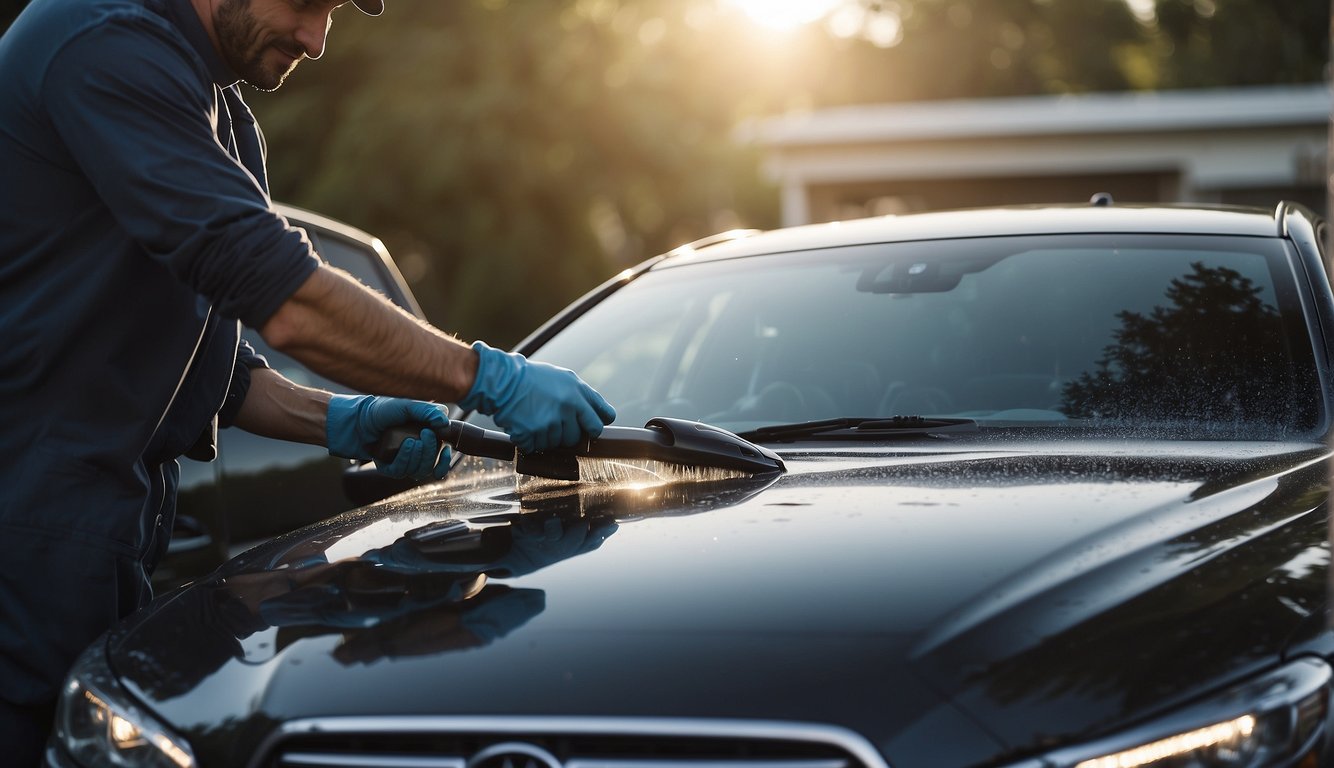
Before starting the car wrap removal process, ensure that you have a heat gun or hair dryer ready to heat the vinyl. Gradually heat the wrap, maintaining a consistent temperature to soften the adhesive. Keep the heat source 6-8 inches away from the car’s surface and remember to move it in a sweeping motion. Remember to be patient, as overheating may damage the paint underneath the wrap.
Peeling and Lifting Edges
Once the vinyl wrap has been sufficiently heated, start lifting the edges carefully. Wearing gloves, use a plastic razor blade to lift the edge of the wrap, focusing on corners and problem areas. As you lift the edge, gently pull the wrap away from the vehicle’s surface, ensuring that no damage is done to the paint or clear coat. If the wrap becomes difficult to remove, reheat it slightly and continue.
Removing Adhesive Residue
After the vinyl wrap is removed, some adhesive residue may remain on the surface of the car. To eliminate this residue, use a remover specifically designed for adhesive residues, such as Rapid Remover. Alternatively, you can use rubbing alcohol or citrus cleaner. Apply the remover to a microfiber towel, and gently rub it over the adhesive residues until they’re gone.
Cleaning and Finishing
Once the adhesive residue is removed, it’s time to finalize the car wrap removal process. Prepare a mild soap solution and use microfiber towels to wash the car thoroughly. Ensure that all traces of the removal process are eliminated, and dry the car’s surface with a clean microfiber towel. At this point, your vehicle should be free of the old vinyl wrap, adhesive residues, and protection is maintained, leaving it ready for a new look or simply a clean finish.
Frequently Asked Questions

What is the recommended method for removing an aged vinyl car wrap?
The recommended method for removing an aged vinyl car wrap is to use a heat gun to soften the adhesive, making it easier to peel off. Hold the heat gun about 6 inches from the surface of the vinyl and move it in a circular motion without overheating the vinyl. Begin peeling the wrap from a corner or edge at a 45-degree angle to prevent tearing.
Can a vinyl wrap be taken off without the use of a heat gun?
While it is possible to remove a vinyl wrap without a heat gun, the process will be more difficult and might result in damage to the wrap or your vehicle. It’s important to use a heat gun to safely soften the adhesive, making it easier to remove the wrap without causing any damage.
What are the best tools to use for effective car wrap removal?
Some of the best tools for effective car wrap removal include a heat gun, a plastic scraper or squeegee, and adhesive remover for cleaning any residue left on the vehicle surface.
What should I consider when selecting a solvent for vinyl wrap removal?
When selecting a solvent for vinyl wrap removal, consider the following factors:
– Ensure the solvent is designed for vehicle use to avoid damaging the paint
– Choose a solvent that is specifically designed for adhesive removal
– Look for a solvent with low VOC levels to minimize potential health and environmental impacts